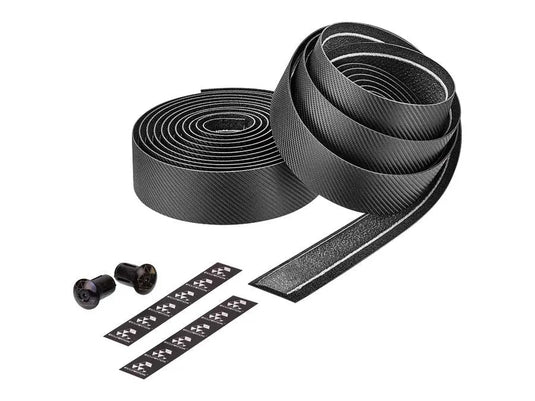
- 2D carbon pattern with polyurethane layer is anti-slip with high tensile strength
- Organic GEL pad prevents adhesive residue
- Reusable, expanding locking bar plugs and highly elastic finishing tapes
Specification
- Level : Advanced
- Material : Leather Touch, PU with Organic Gel padded
- Length : 2000 mm
- Width : 30 mm
- Thickness : 3 mm
- Plug : Lock-in
- Finish Tape : Included
- Color : Black
- Quantity : 1 Pair
Installation
-
Remove any existing handlebar wrap or tape and clean handlebars thoroughly before installing CICLOVATION™ Handlebar Tape.
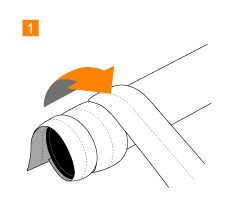
-
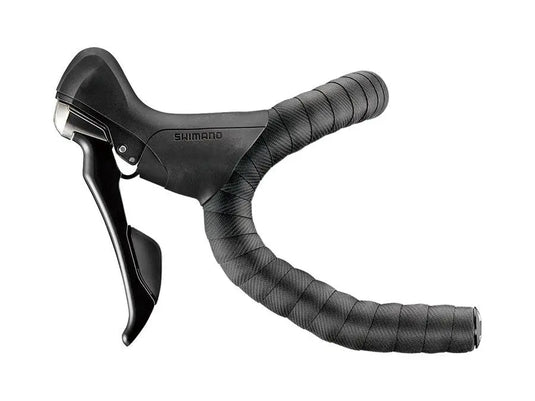
Beginning at the bar end, wrap the tape around the handlebar one complete turn around. It is suggested to wrap the right side handlebar clockwise and the left side counter-clockwise from the rider's perspective. While maintaining tension, continue coiling the tape toward the center of the handlebars with each successive wrap overlapping the previous one by approximately half the width of the tape.
-
At the bulge in the center of the handlbars, cut the handlebar tape at an angle to finish and use the adhesive strips provided or electrical tape to secure into place.
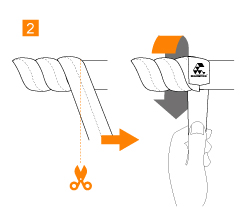
-
Screw in the plug in position and repeat the process on the other end of the handlebar.

We are still adding a lot of products and If you can't find any product, just message us on our whatsapp no. here and we will get it arranged for you
You can also email us at support@madoverbiking.com or call us at 9315376395
Description
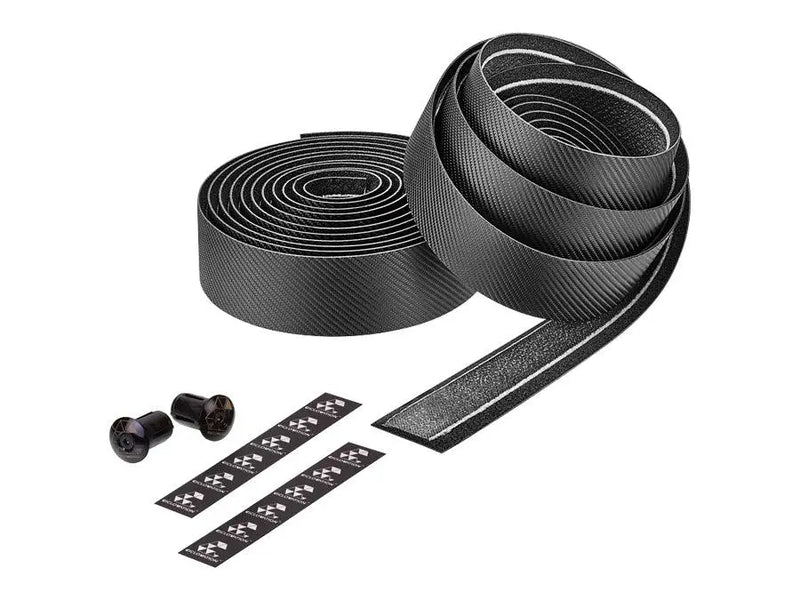
- 2D carbon pattern with polyurethane layer is anti-slip with high tensile strength
- Organic GEL pad prevents adhesive residue
- Reusable, expanding locking bar plugs and highly elastic finishing tapes
Specification
- Level : Advanced
- Material : Leather Touch, PU with Organic Gel padded
- Length : 2000 mm
- Width : 30 mm
- Thickness : 3 mm
- Plug : Lock-in
- Finish Tape : Included
- Color : Black
- Quantity : 1 Pair
Installation
-
Remove any existing handlebar wrap or tape and clean handlebars thoroughly before installing CICLOVATION™ Handlebar Tape.
-
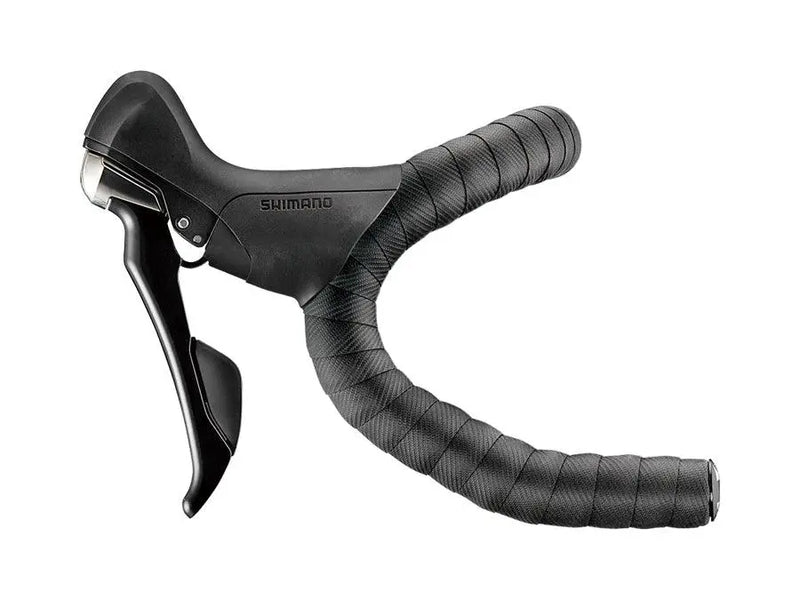
Beginning at the bar end, wrap the tape around the handlebar one complete turn around. It is suggested to wrap the right side handlebar clockwise and the left side counter-clockwise from the rider's perspective. While maintaining tension, continue coiling the tape toward the center of the handlebars with each successive wrap overlapping the previous one by approximately half the width of the tape.
-
At the bulge in the center of the handlbars, cut the handlebar tape at an angle to finish and use the adhesive strips provided or electrical tape to secure into place.
-
Screw in the plug in position and repeat the process on the other end of the handlebar.
Warranty & Claims
Product out of stock?